Showing posts with label Home Decor. Show all posts

January 10, 2019

updated diy dinning room and living room


My husband and I kicked off the new year with one little and one big diy project. I love the look of picture frame shelves. After searching the internet, I quickly realized that buying the shelves in store in the size that I needed would be costly. My husband made these shelves in one afternoon for about $20. I'm seriously debating about adding one more shelf under the bottom one. 

The wainscoting project was a lot of work. I love how the project turned out. My husband did a beautiful job. However, unless you love to measure and sand for hours, I wouldn't recommend this diy. Also, skip any and all pinterest tutorials that suggest "shortcuts," "getting the real look for less" and "do it in one day." Installing wainscoting correctly takes time. 

In the end, I am in love with both projects. Can't wait (although I'll probably wait a few months before suggesting the next project) to see what else we do in the near future. 

October 1, 2018

upstairs kids/guest bath refresh


Over the weekend, we did a bathroom refresh. My husband and a close family friend worked together to install the vanity, which was done in one afternoon. The new medicine cabinet shelves were built by the same friend, installed by me. After painting the entire bathroom and cleaning up the light fixture, I think this bathroom is much nicer. The new vanity functional. I can store the kid's things inside the drawers with plenty of space leftover for extra towels and toilet paper.  

June 30, 2018

dinning room in progress


For my final post of the month, I thought I'd share our progress on the dinning room in our house. I was going to wait until I filled those empty frames with pictures and or art, but honestly that might take me a while. I'm on the hunt for something to go between the bookshelf and window for extra dinning storage or for serving drink/snacks on when we have guest over. Feel free to share ideas. I would have share more of this room however currently my husband is using the carpeted area as drum set storage and golf bag storage.  


February 28, 2018

girly room

Once, along ago I made a grand declaration that I would never paint Alara's room pink. Today, I broke that grand declaration and I'm in love. This room is so girly! I used everything on hand and I am really happy with how it came together. When I asked Alara if she liked her new room she said "I like it! It's pretty!" 


I'm not sure what to put on the wall above the dresser. Maybe a mirror or something personalized? Any thoughts? 

February 9, 2018

big boy room reveal

It feels good to have at least one room in our new house finished. Most of the boxes have been unpacked, however I still have stuff everywhere! It takes time to put a house together. And honestly, I'm not in a hurry. I'd rather find things that I love and can use then fill the house with stuff.

I asked Lucas for input on his room. Apparently, everything "little kid" had to go. His two requests for his room were for one blue wall, one red wall and one green wall, and a map. I vetoed the blue, red and green walls, and opted for one navy blue accent wall and of course I found him a darling map from Hobby Lobby ($7).

I used everything on hand, except for the map. I love how this room turned out. And this will probably be the cleanest this room will ever be. 


Up next will be Alara's room.

September 30, 2016

door project


Over the summer it was pointed out to me that our front door needed a face lift. The door needed to be sanded, re-stained and sealed. I hate sanding. I hate the feeling of wood dust on my skin, the way it gets in my hair and up my nose. No matter how many times I shower after I sand, I still feel dusty.
But, as much as I hate sanding...I love the look of freshly stained wood. I worked during nap time..slowly sanding by hand.. removing the dust and grim. The after picture is the result of many weeks of hard work and I'm pretty dam proud of how it turned out.

May 12, 2016

DIY wall rack


After weeks of tripping over Lucas's backpacks I decided it was time to get organize. I won this wood wall rack with shaker pegs when I was about twelve years old at a 4-H horse show. My twelve year old self didn't have a need for a wood wall rack and thought the prize was a waste. I had wanted the camping chair. And honestly I don't blame myself for wanting a camping over a wood wall rack.  

Until about a week ago, the rejected rack sat collecting dust in my Mom's storage shed. After giving it a good sanding, replacing the missing pegs and a couple coats of traffic cone orange paint this wall rack looks as good as new. Lucas was a big help with the sanding and gluing. He took great pride in helping make something for his room. 

I'm happy with how this project turned out. Fingers crossed that it holds up to everyday use and that those backpacks and bow stay off the floor and on the wall. 

March 31, 2015

our daughter's room


I had intended on blogging a big nursery reveal. It was going to be picture perfect - magazine and pinterest worthy. However, after postponing my big nursery reveal, I decided that I am no longer going to let my desire for perfection stop me from posting. The room is a work in progress, and is far from finished. I am very happy with how it is progressing, and I can't wait to see how it evolves over time.

This room was originally going to have a Little House on the Prairie  theme. However, I found this fabric at JoAnn's and knew that I had to have it. I love the combination of coral pink and navy blue. It's girly, but not over the top. The crib and tan rocker are hand-me-downs from big brother, and the dresser came from Dadi. I did the bedding myself, and the curtains are semi-custom made by me as well.

Future me has several projects in mind for this room.

Thank you pinterest for the inspiration...

1. A gallery wall above the white dresser.


....or....


2. Doing some sort of name thing above the crib. 


3. The room is small, so shelving on either side of the window will help maximize storage. 


4. Sprucing up my old rocker. 


So there you have it. I'm thrilled to be working on this room. It's been fun dreaming up a beautiful girl room that will be enjoyed by my daughter and myself. 

I'll keep blogging my progress. 

March 23, 2015

dresser update

I finally finished our baby girl's dresser. This dresser originally belonged to Lucas's Dadi. It's a really nice solid wood dresser, but it needed a face lift.  Before painting, I spent several days sanding off the dresser's original mustard yellow color. When I originally envisioned our daughter's room, mustard yellow didn't even come close to making the cut. Using left over paint, I finished the project with the same color I used on the trim in our house. I did keep the original dresser knobs - the picture doesn't do them justice - but the knobs are a vintage white with dainty pink, blue and yellow flowers. 

January 31, 2015

January 2015 recap

It's been a busy month. Here's a recap of January.

Jan. 3, 2015 
Family Trip to the Wild Animal Park 


Jan. 13, 2015
Park Day 


Jan. 15, 2015
The Hair Cut 


Jan. 17-19, 2015
Painting Weekend
(more pictures to come)

Our Walls Before 

Our Walls after 
Jan. 25th 
Liz's Bridal Shower

November 23, 2013

Song of Solomon 3:4

After months of planning and preparing, I finally took the plunge and started this project.  I haven't painted on canvas since high school. I'm not naturally artistic, and I can't draw to save my life. However, I did not let my lack of artistic talent deter me from creating this fine piece of art! As much as I love 1 Corinthians 13:4-7, its been done. I wanted something unique, especially for my bedroom. I chose Song of Solomon 3:4 because it truly expresses how I feel about my husband. He is my soul mate, one of my greatest blessings and the best thing to have ever happened to me. 

June 24, 2013

Stenciling Project Phase #1

 Before: 

After:


Lately, I've been oohing and aahing over designer stencils projects on pinterest. I love the look of all over wall stencil, especially in small spaces. Designer stencils are beautiful, but pricey ($50 +). I decided to do some research. I found several inspiring bloggers who designed and created their own stencils. However, in the end I found an inexpensive stencil at home depot that fit my needs. It took several days to complete the project. I had to work around Lucas's nap schedule and I had to wait in between each stencil to allow the paint to properly dry. I'm really happy with the results.

January 19, 2013

Happy Sabbath

Today the weather finally decided to mellow out and warm up. The past couple of days have been windy. I've never been a fan of windy days. Maybe a gentle breeze, but not the wind. The wind dries out my skin, gets dust in my eyes and I walk around feeling like a dehydrated cactus. I took advantage of the good weather and decided to take Lucas outside for a quick photo shoot. He's a week away from being 9 months, and I want to document his growth.


He wasn't all that cooperative. Instead of posing and smiling like I wanted, he wanted to crawl around the blanket in search of grass to eat. I soon gave up trying to take outdoor pictures, and moved inside.


Lucas is getting so tall! His list of accomplishments are growing. The most recent accomplishment is walking unassisted. Unfortunately, I wasn't able to get a picture of him standing and walking all by himself. 

Wednesday was Lucas's 9 month well baby visit. Thankfully, he only had two shots. Its horrible to watch as his little faces reddens and  balls up, with tears streaming down his cheeks and his poor little cries come pouring out of his mouth with the discomfort of shots. It was over soon enough and thankfully he didn't cry all the way out of the Doctor's office.

January 12, 2013

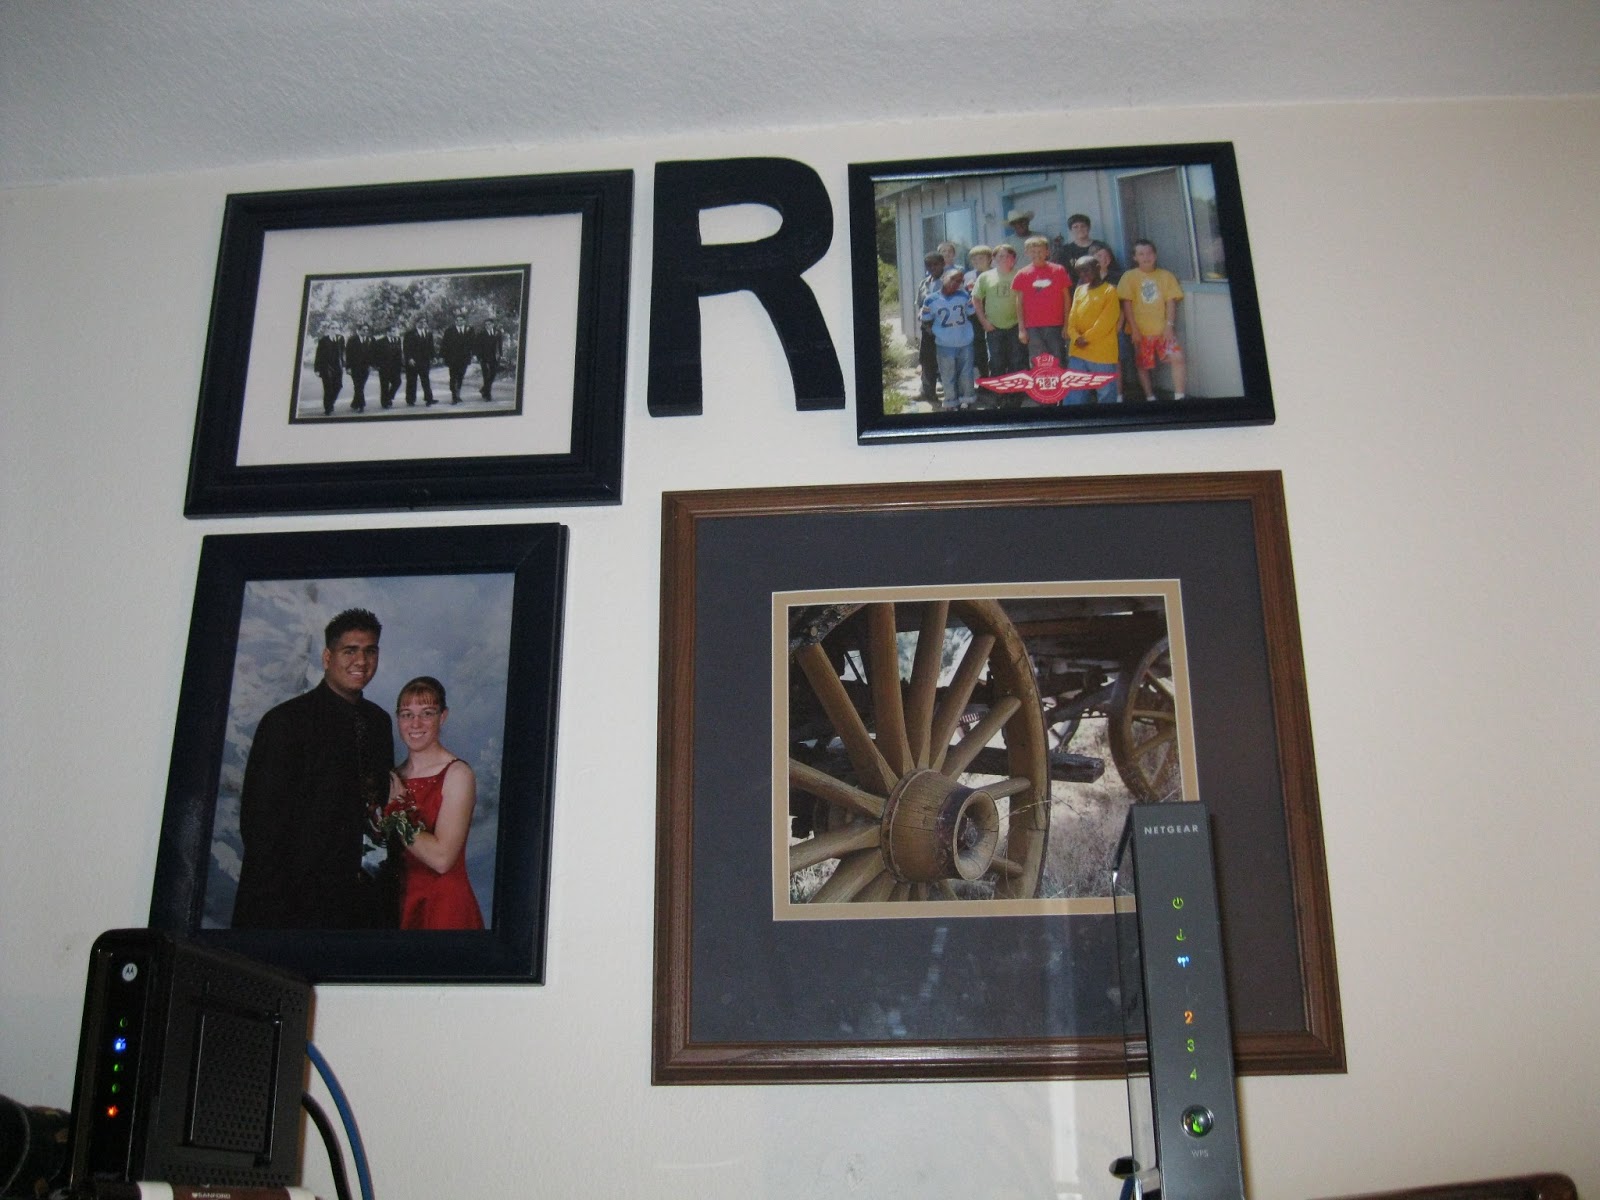
Spray Painting Picture Frames

I have a rather large stack of old mismatched picture frames. Most of the frames are a light oak,  scratched pine and an assortment of oddly colored plastic and metal.

 Here is one of the plastic frames that I used. First, I removed the glass panel from the back of the frame and set it aside. Next, with a damp cloth I wiped the frame down removing all dust. I placed the frame on the newspaper. I did the painting outside in my back yard. It was a perfect day for painting - no wind and lots of sun. I wanted to avoid using the garage due to the toxic fumes produced by the spray paint.

Here is the frame after I painted it. The metal and plastic frames needed one heavy coat and just a light second coat for touch ups. The wood frames (especially the oak) needed two or three coats of paint. I gave the frames several hours to dry. The paint can recommends allowing the paint to dry for a full 24 hours. I'd recommend following the directions on the can. I had to do a few touch ups due to my impatience.  


Two more frames that I painted. The frames are made from oak. 

The finished product.
My next project is to paint the wall.


Slowly but surely, my cozy starter home is becoming my dream home. :) One step @ a time.


Supplies I used:
Picture frames - used ones I already had ($0)
One can of spray paint -  Rust-Oleum 249854 Painter's Touch Multi-Purpose Spray Paint, Satin Midnight Blue, 12-Ounce ($7.15)
Prints/Photos - used ones I already had ($0)